
Sewer Line Replacement Cost: What to Budget in 2026
Sewer Line Replacement Cost: What to Budget in 2026
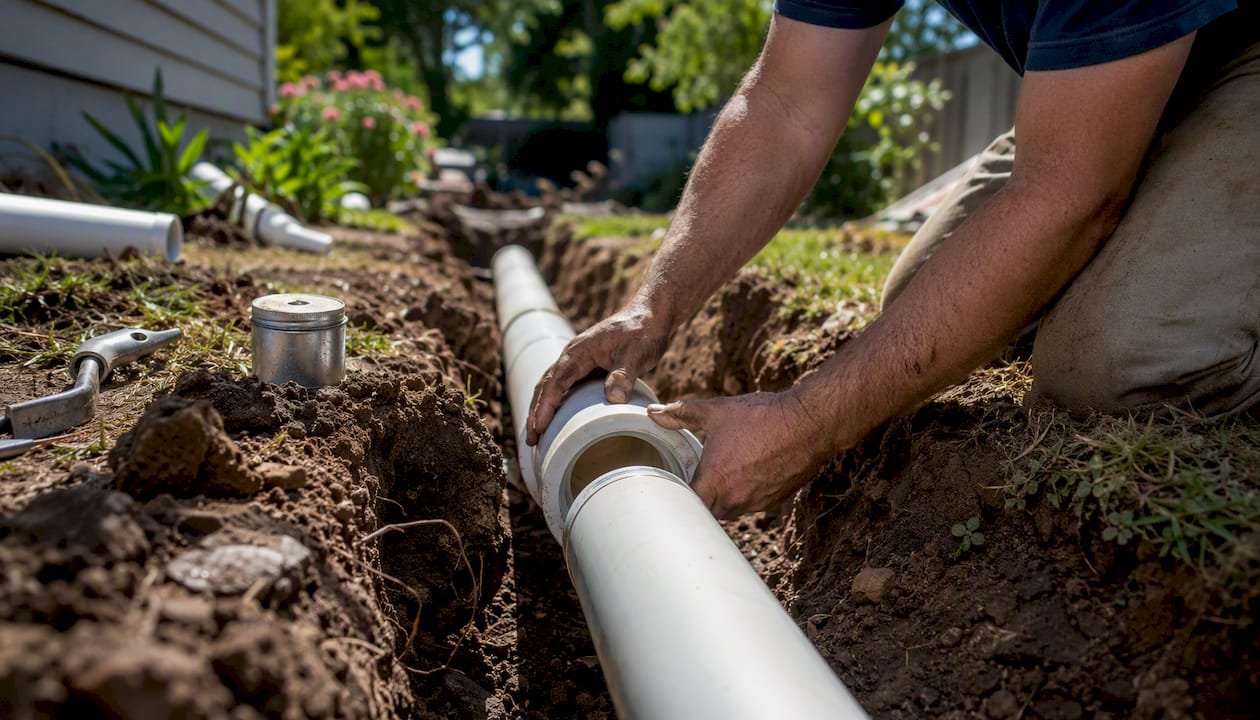
Replacing a residential sewer lateral can range widely depending on method, length, and restoration. According to HomeCostLab’s 2026 national data, most homeowners spend around the midrange for these factors. A real-job database of 67 verified receipts shows the typical cost clustering near the middle of actual project prices. This Old House reports averages reflecting shorter laterals and simpler conditions.
The range is wide for a reason. A 40-foot trenchless job under a lawn costs far less than a 100-foot open-trench replacement under a concrete driveway. Before you call a single contractor, spend $150–$500 on a camera inspection. That one step tells you exactly what failed, where, and whether you need a spot repair or a full replacement.
Key Takeaways
Replacing a residential sewer lateral costs most homeowners between $6,000 and $14,500, with the final number driven by method, pipe length, and restoration requirements more than any other factors.
| Point | Details |
|---|---|
| Typical cost range | Most homeowners pay $6,000–$14,500; the national median from real receipts is about $9,000. |
| Camera inspection first | A $150–$500 inspection confirms scope and prevents unnecessary full replacements. |
| Restoration adds up | Open-trench restoration can add 20–40% to the total bill; factor it in before comparing bids. |
| Method determines disruption | Trenchless options (pipe bursting, CIPP) often cost less overall when they avoid major hardscape repair. |
| Localaipage for local vetting | Search by ZIP code on Localaipage to find verified contractors with reviews, service areas, and contact details. |
Table of Contents
What drives sewer line replacement cost the most?
Six factors move the price more than anything else:
-
Replacement method. Open-trench, pipe bursting, and CIPP lining each carry different labor and equipment costs. Method is often the single biggest variable.
-
Pipe length. Most residential laterals run 40–100 feet from the house to the municipal main. Every additional foot adds material and labor.
-
Depth. A pipe buried 4 feet down is a different job than one at 10 feet. Deeper excavation means more labor, shoring, and time.
-
Access and location. A pipe running under a lawn is easy. Under a driveway, patio, or public right-of-way, costs climb fast.
-
Pipe material. The existing material affects which replacement methods are viable. The new material affects per-foot cost and longevity.
-
Restoration. Concrete, asphalt, landscaping, and sod replacement can add thousands to any job, regardless of method.
-
Permits and local labor rates. Permit fees vary by municipality. Labor rates in San Francisco or New York run significantly higher than in rural Midwest markets.
Pro Tip: A sewer camera inspection ($150–$500) is the highest-value first dollar you can spend. It identifies the exact failure mode, confirms pipe condition throughout the run, and prevents contractors from upselling a full replacement when a spot repair would do. Always get the footage on video, not just a verbal report.
How pipe material affects the price you pay
The pipe already in the ground shapes which methods are available to you. What goes in as the replacement affects long-term cost and durability.
| Material | Relative cost | Typical lifespan | Trenchless compatible |
|---|---|---|---|
| Cast iron | High | 70 years or more | Limited (brittle) |
| Clay/vitrified clay | Moderate | 50–60 years | Limited (fragile) |
| PVC | Low to moderate | 100+ years | Yes (open-trench standard) |
| HDPE | Moderate to high | 50–100 years | Yes (pipe bursting preferred) |
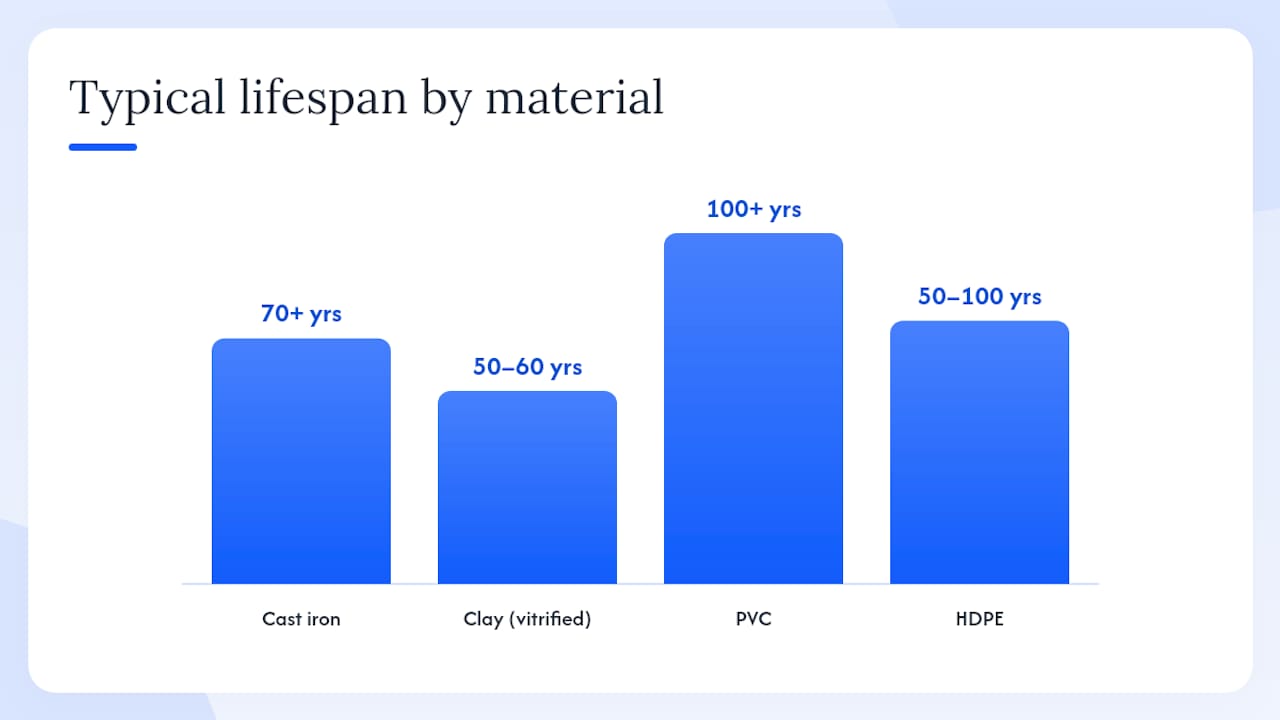
Cast iron was standard in homes built before the 1970s. It’s durable but corrodes from the inside over decades, and its brittleness makes it a poor candidate for pipe bursting. Replacement typically requires open-trench work, which raises total cost. Home Depot’s PVC pipe listings illustrate how dramatically raw material prices differ at the per-foot level.
Clay pipe is common in homes built before 1950. It handles compressive loads well but cracks under root intrusion and ground movement. Trenchless lining (CIPP) can work if the host pipe is still structurally intact, but a collapsed clay line needs open-trench removal.
PVC is the go-to for open-trench replacements today. It’s lightweight, smooth-walled (which resists buildup), and cheap per foot. The downside is that it requires proper bedding and backfill to avoid joint separation over time.
HDPE is the preferred material for pipe bursting because it comes in continuous lengths, eliminating joints. It handles ground movement well and resists root intrusion. Per-foot material cost runs higher than PVC, but the trenchless installation often offsets that.
Open trench vs. trenchless: which method costs less overall?
The honest answer depends on what’s above the pipe. ProjectCostPro’s 2026 planning data shows the following installed-cost bands for a 50-foot run:
Open-trench is the most familiar method and works in almost any situation, including collapsed pipes and severely offset joints. Contractors dig a trench the full length of the run, remove the old pipe, and install new pipe in sections. It’s the only viable option when the existing pipe is too deteriorated to serve as a guide for trenchless tools. The downside is restoration: every foot of driveway, patio, or landscaping disturbed has to be put back.
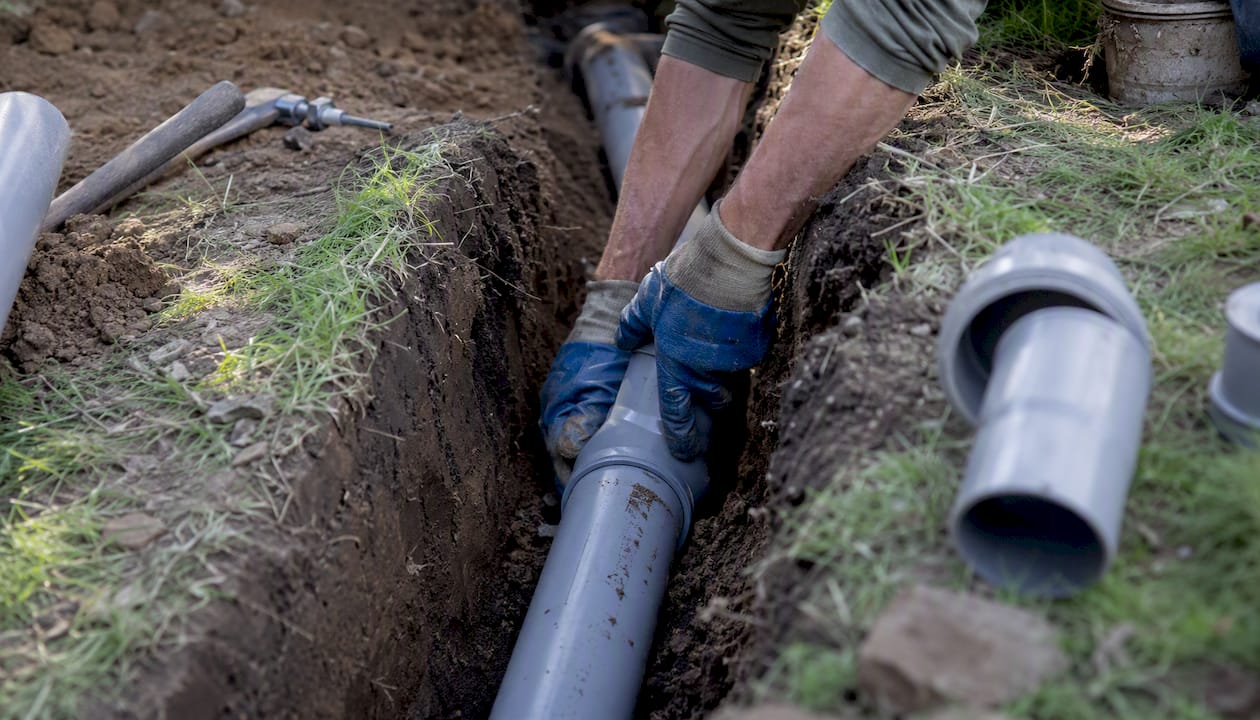
Pipe bursting threads a bursting head through the existing pipe, fracturing it outward while simultaneously pulling new HDPE pipe into place. No trench required along the run, just small access pits at each end. It works well when the existing pipe is mostly intact and the surrounding soil can absorb the displaced fragments. Not suitable for severely collapsed sections or pipes with significant offset joints.
CIPP (cured-in-place pipe) lining pulls a resin-saturated liner into the existing pipe and cures it in place, creating a new pipe within the old one. It’s the least disruptive option and works well for cracked or root-infiltrated pipes with a structurally sound host. The trade-off is a slight reduction in internal diameter, and it cannot address a fully collapsed section.
Pros and cons at a glance:
Open-trench:
-
Handles any pipe condition, including full collapse
-
Higher restoration costs, especially under hardscape
-
Longer job duration
Pipe bursting:
-
Minimal surface disruption
-
Requires intact pipe path; not for collapsed sections
-
Faster completion, lower restoration bill
CIPP lining:
-
Least disruptive of all methods
-
Cannot fix collapsed pipe or severe offsets
-
Slightly reduces pipe diameter
Pro Tip: Before accepting a per-foot quote, ask the contractor to add the estimated restoration cost to the total. Trenchless methods often cost more per linear foot but come out cheaper overall when they spare you $3,000–$8,000 in driveway or landscaping repair. That comparison is the only one that matters.
Budget items homeowners commonly overlook
The base replacement quote rarely covers everything. PlumbingSniper’s 2026 guide notes that method, depth, and restoration together explain most of the gap between a low bid and what homeowners actually pay.
-
Camera inspection: $150–$500. Required before any responsible contractor scopes the work. Some contractors credit this fee toward the job if you hire them.
-
Permit fees: $50–$500+, depending on municipality. Required for virtually every sewer replacement. A contractor who skips the permit is a contractor who skips the final inspection.
-
Right-of-way (ROW) fees: $100–$1,000+. If the lateral crosses a public easement or the work requires cutting into a city street, the municipality charges a separate ROW fee.
-
Traffic control: $500–$2,500. Any work in or near a public street typically requires cones, signage, and sometimes a flagging crew. This cost is often buried in the contractor’s overhead but worth asking about explicitly.
-
Hauling and disposal: $200–$600. Excavated soil and old pipe have to go somewhere. Disposal of clay or cast iron can carry additional fees.
-
Landscaping and driveway restoration: $1,000–$8,000+. This is where budgets blow up. Concrete replacement alone runs $6–$12 per square foot; asphalt is somewhat less. Sod, shrubs, and irrigation repairs add up fast.
Restoration costs can represent 20–40% of the total project bill on open-trench jobs — a figure that surprises most homeowners who focused only on the pipe replacement quote.
When should you repair instead of replace?
A spot repair costs a fraction of a full replacement, but it’s the wrong call in several situations.
Signs that point to full replacement:
-
Repeated sewage backups over 12–24 months despite prior repairs
-
Multiple breaks or cracks along the pipe run
-
Collapsed or severely offset pipe sections confirmed by camera
-
Widespread root intrusion throughout the line, not just at one joint
-
Pipe material that is beyond its service life (clay or cast iron in a 70-year-old home with no prior work)
-
Bellied pipe (a sag that holds standing water and solids)
Conditions where a spot repair or lining makes sense:
-
Single crack or root intrusion at one joint
-
Localized damage with the rest of the pipe in good condition
-
Structurally sound host pipe that can support a CIPP liner
-
Pipe less than 20 years old with isolated damage from tree roots or ground shift
Decision checklist for your contractor conversation:
-
Has the camera inspection confirmed the failure is localized or widespread?
-
What is the pipe material and approximate age?
-
Is the host pipe structurally sound enough for lining?
-
How many times has this line backed up in the past two years?
-
Does the contractor’s written scope specify exactly which sections are being addressed?
Pro Tip: Ask for the camera footage file, not just a verbal summary. Watch it yourself or have a second contractor review it. A 10-minute video is the only objective evidence of what’s actually wrong, and it protects you from both unnecessary replacements and underscoped repairs.
What a sewer line replacement job actually involves
Understanding each phase helps you track where your money goes and catch problems before they become disputes.
-
Camera inspection. A technician runs a waterproof camera through the line to document condition, locate breaks, and measure depth. This step determines the method and scope.
-
Permit and planning. The contractor pulls a permit from the local building or public works department. In some municipalities, this takes 1–5 business days; in others, same-day permits are available online.
-
Utility marking. Before any digging, the contractor calls 811 (the national dig-safe line) to have underground utilities marked. This is legally required and typically takes 2–3 business days.
-
Access and excavation. For open-trench, a full trench is dug. For trenchless methods, small access pits are opened at each end of the run.
-
Pipe replacement or lining. The old pipe is removed (open-trench) or the new pipe/liner is installed through the existing path (trenchless). Connections to the house cleanout and the municipal main are made and sealed.
-
Pressure and flow testing. The new line is tested before backfill. Most municipalities require a passing test before the inspector signs off.
-
Inspection and permit close-out. A municipal inspector visits the site to verify the installation meets code. This step is non-negotiable on permitted work.
-
Restoration. Trench is backfilled and compacted. Hardscape, landscaping, or sod is restored to pre-job condition per the written scope.
The most common delay point is permitting and utility marking, which together can add 3–7 business days before a shovel touches the ground. Factor that into your timeline if you’re dealing with an active backup.
How long does a sewer line replacement take?
Timeline varies more than most homeowners expect, and the method is only part of the story.
-
Spot repair (single section): 1 day, sometimes less
-
CIPP lining (full lateral): 1–2 days on-site, plus cure time
-
Pipe bursting (full lateral): 1–3 days on-site
-
Open-trench (full lateral, lawn only): 3–5 days
-
Open-trench with driveway or hardscape restoration: 5–14+ days, sometimes longer if concrete cure time is required
Factors that add time beyond the method itself:
-
Permit processing (1–5 days in most jurisdictions, longer in some cities)
-
Utility marking (2–3 business days minimum after calling 811)
-
Right-of-way work requiring city coordination
-
Concrete cure time (typically 7 days before the surface is load-bearing)
-
Weather delays on open-trench jobs
Most straightforward trenchless jobs finish in 1–3 days. A complex open-trench replacement with driveway restoration can stretch to two weeks or more from permit to final inspection.
How to get accurate quotes and reduce what you pay
Getting three quotes is the floor, not the goal. The goal is getting three comparable quotes.
Questions to ask every contractor:
-
Will you pull the permit, and can I get a copy before work starts?
-
What method are you recommending, and why is it right for my pipe condition?
-
What material will you install, and what is the manufacturer’s warranty?
-
Does your quote include restoration, and what exactly does that cover?
-
Can I see the camera footage from your inspection?
-
What is your workmanship warranty, and is it in writing?
-
Are you licensed and insured in this state? Can I see the certificates?
Red flags that should make you walk away:
-
No permit, or a contractor who suggests skipping it to save money
-
Vague scope (“replace sewer line” with no footage, method, or material specified)
-
A bid that is 40–50% below the others with no clear explanation
-
Pressure to sign same-day before you’ve seen the camera footage
-
Cash-only payment with no written contract
Ways to reduce the total cost:
-
Get the camera inspection done independently before soliciting bids. You control the footage and can share it with multiple contractors.
-
Ask whether trenchless is viable. If it avoids $4,000 in driveway restoration, it may be cheaper overall even at a higher per-foot rate.
-
Check whether your municipality offers a lateral repair assistance program. Some cities subsidize repairs to prevent main-line contamination.
-
Ask your homeowner’s insurance carrier about service line coverage. Some policies cover sudden sewer failures; a separate service line endorsement is available from most carriers for $30–$60 per year.
-
For financing, home-improvement loans, HELOCs, PACE financing (where available), and contractor payment plans are all common options. Compare APRs before committing.
How to find and vet local sewer-line contractors
Finding a contractor is easy. Finding one who is licensed, insured, and honest about scope is the actual challenge.
Start with a ZIP code search to pull up contractors who actually work in your area. Generic national directories often surface companies that subcontract locally or don’t serve your specific municipality. A platform that shows verified local profiles by ZIP code lets you see service areas, contact details, and customer reviews in one place before you make a single call.
What to verify on every contractor profile:
-
State plumbing or contractor license number (cross-check with your state licensing board)
-
General liability insurance and workers’ compensation certificates
-
Physical address or service area that includes your municipality
-
Customer reviews that mention sewer work specifically, not just general plumbing
-
Before-and-after photos or camera footage examples
Documents to request before work starts:
-
Signed written contract with method, materials, footage, and restoration scope specified
-
Copy of the permit application or permit number
-
Proof of insurance (certificate of insurance naming you as certificate holder)
-
Written workmanship warranty
Pro Tip: Search by ZIP code rather than city name. Sewer contractors are licensed at the state level but often restricted to specific municipal service areas for permit purposes. A contractor 15 miles away may not be authorized to pull permits in your city.
What I’d tell a friend facing a sewer replacement
The lowest bid almost never wins. That sounds obvious, but homeowners under financial pressure accept vague scopes and skip permits every day, and they pay for it twice: once for the job, and again when the work fails inspection or the restoration is done wrong.
The single most common mistake is treating the camera inspection as optional. Contractors who skip it are guessing at scope. You end up paying for a full replacement when a $1,200 lining job would have solved it, or you get a spot repair on a line that needed full replacement. The $200 inspection is the only thing standing between you and either of those outcomes.
The second mistake is ignoring restoration in the quote comparison. Two bids can look identical on pipe footage and method, and differ by $4,000 because one contractor included driveway restoration and the other didn’t. Always ask for a line-item breakdown.
One more: insist on a post-job camera run. Before the trench is backfilled or the access pits are closed, a final camera pass confirms the new pipe is seated correctly, connections are sealed, and there’s no debris in the line. Most contractors will do this at no charge if you ask. Few will volunteer it.
Compare verified sewer-line contractors near you
Sewer replacement is not a job to hand to the first contractor who answers the phone. The difference between a well-scoped job and a poorly scoped one can run to thousands of dollars, and the difference between a permitted job and an unpermitted one can affect your home’s resale value and your insurance coverage.

Localaipage connects you with verified local contractors through a simple ZIP code search. Each profile shows the contractor’s service area, contact details, customer reviews, and the specifics you need to vet them before the first call. No guesswork about whether they serve your municipality, no chasing down license numbers manually.
Search by your ZIP code to compare verified sewer-line contractors in your area, view their profiles, and reach out directly for quotes.
Sources
These are the primary sources used to build this guide. Each is worth bookmarking if you want to cross-check figures or dig deeper into a specific method.